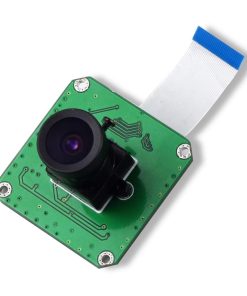
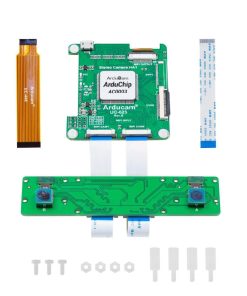
Arducam M12 Mount Lens Kit for Raspberry Pi and Arduino Cameras (LK001) Arducam
$ 169,00 $ 67,60
Arducam M12 Mount Lens Kit for Raspberry Pi and Arduino Cameras (LK001)
Includes the Lens Mounts
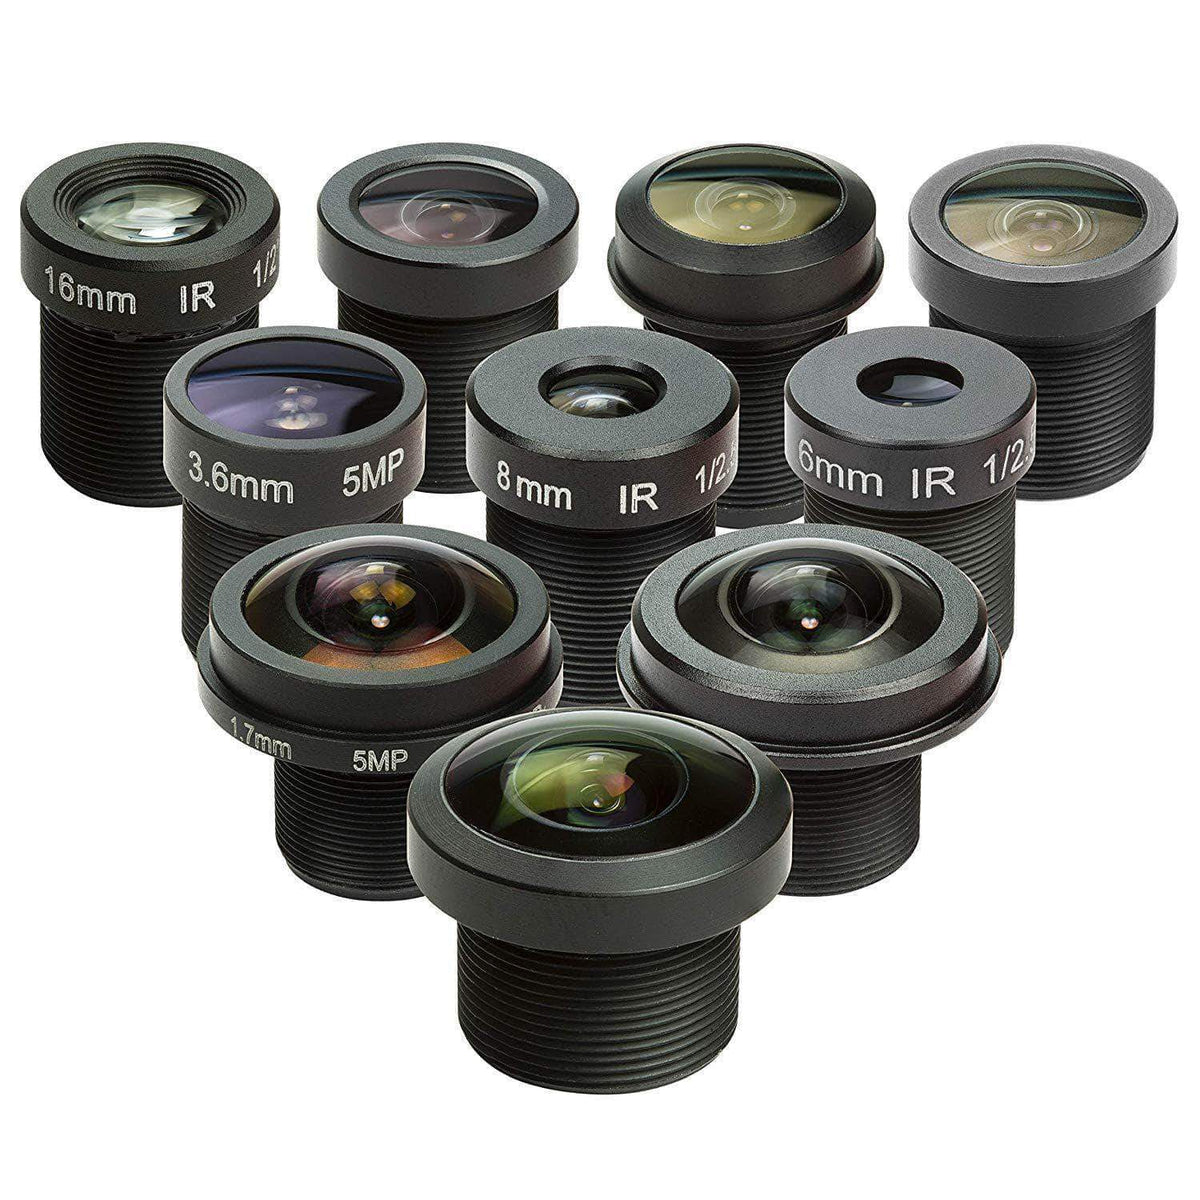
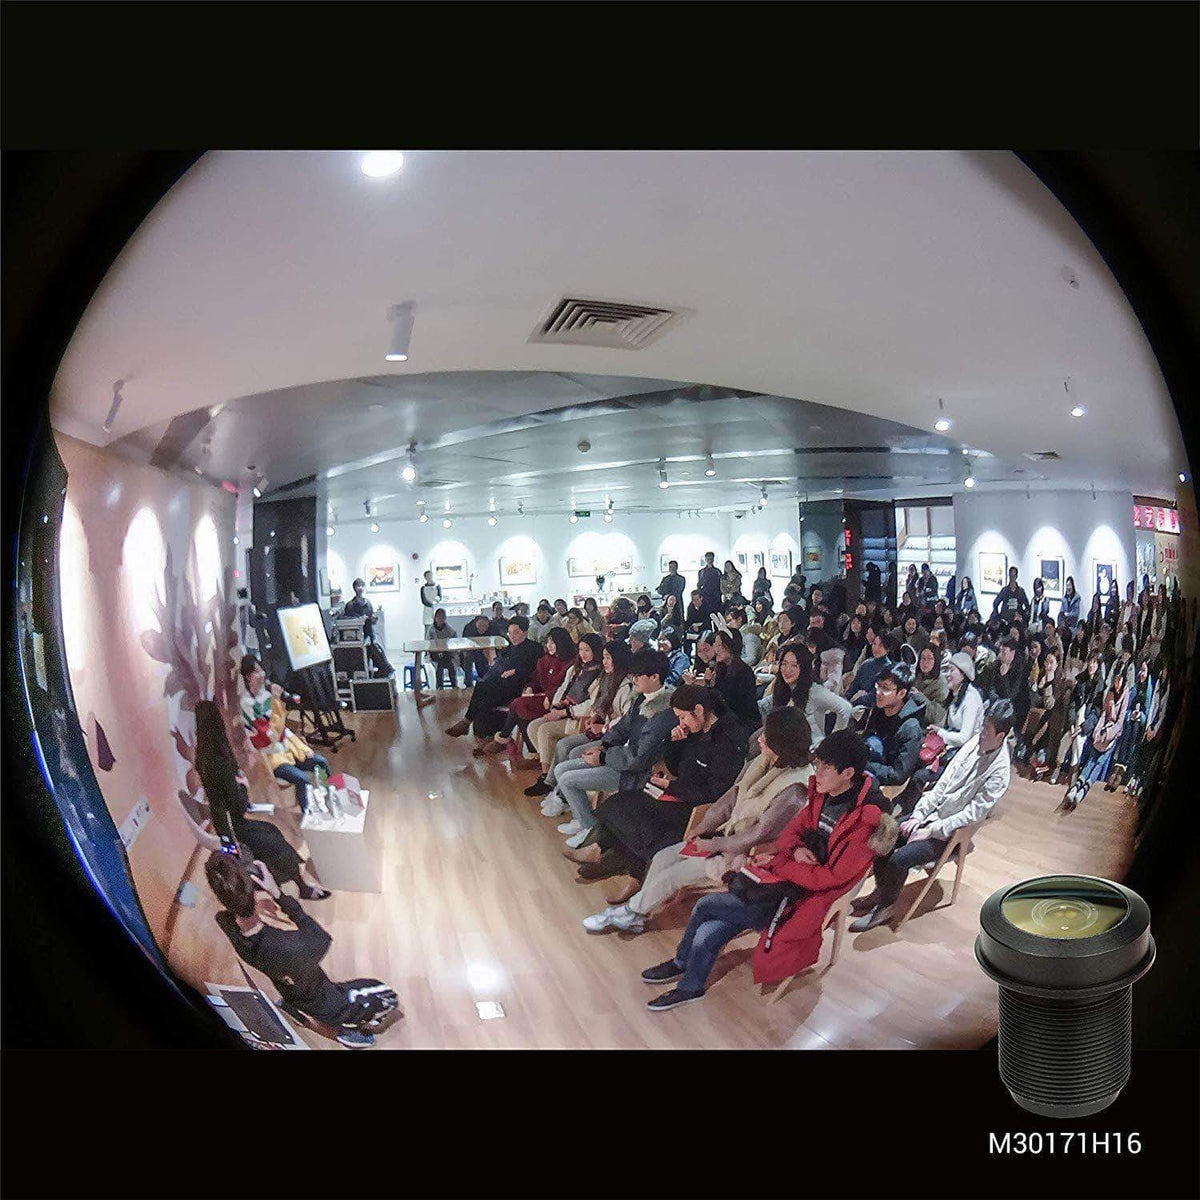
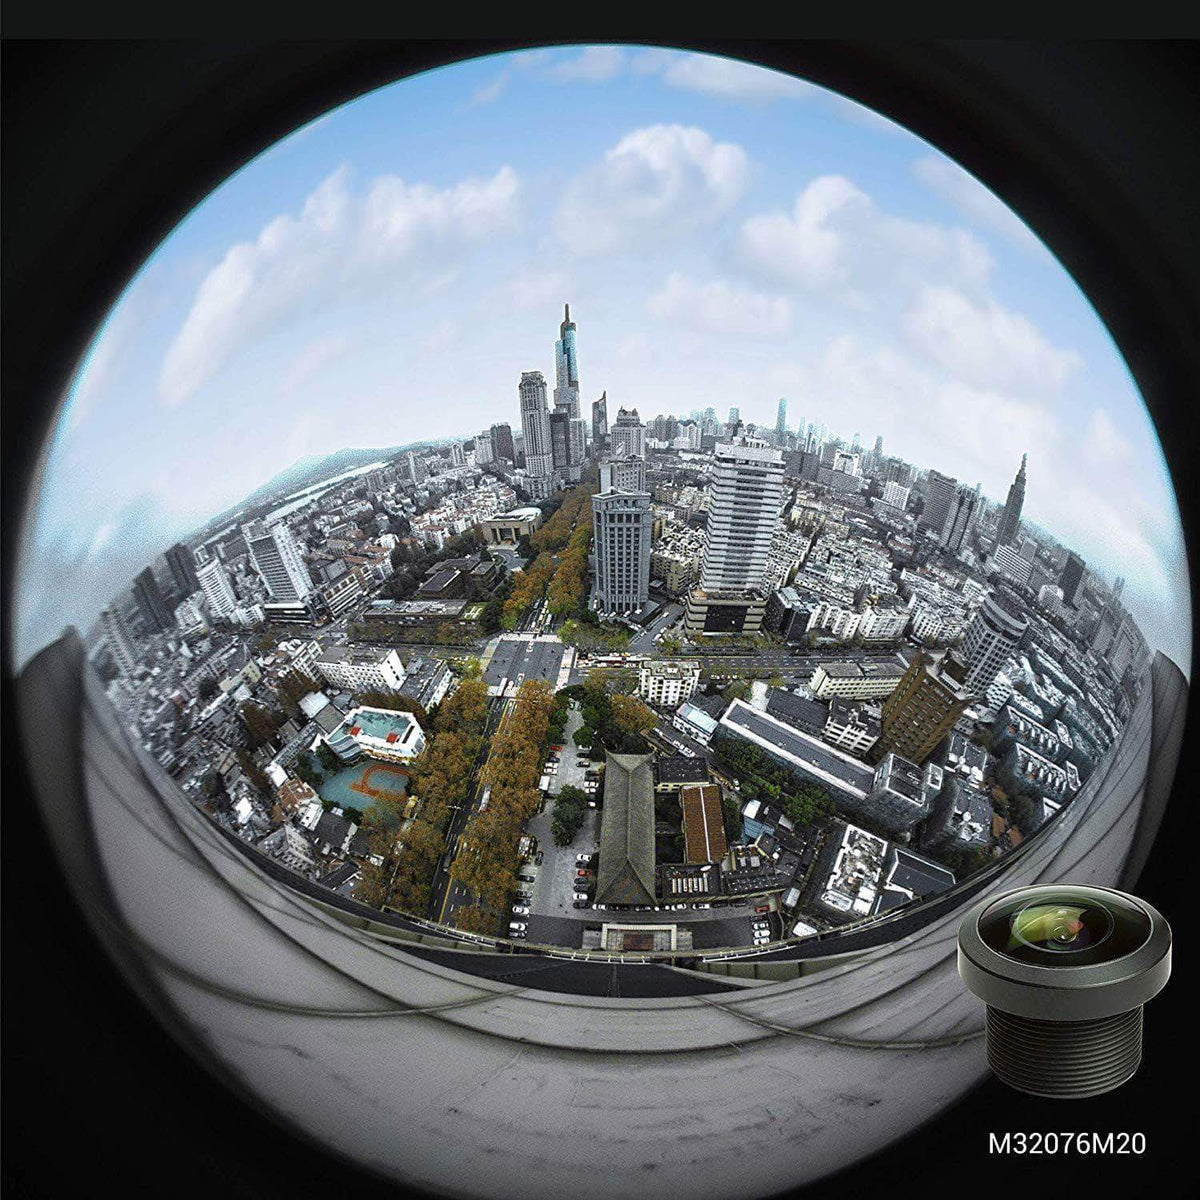
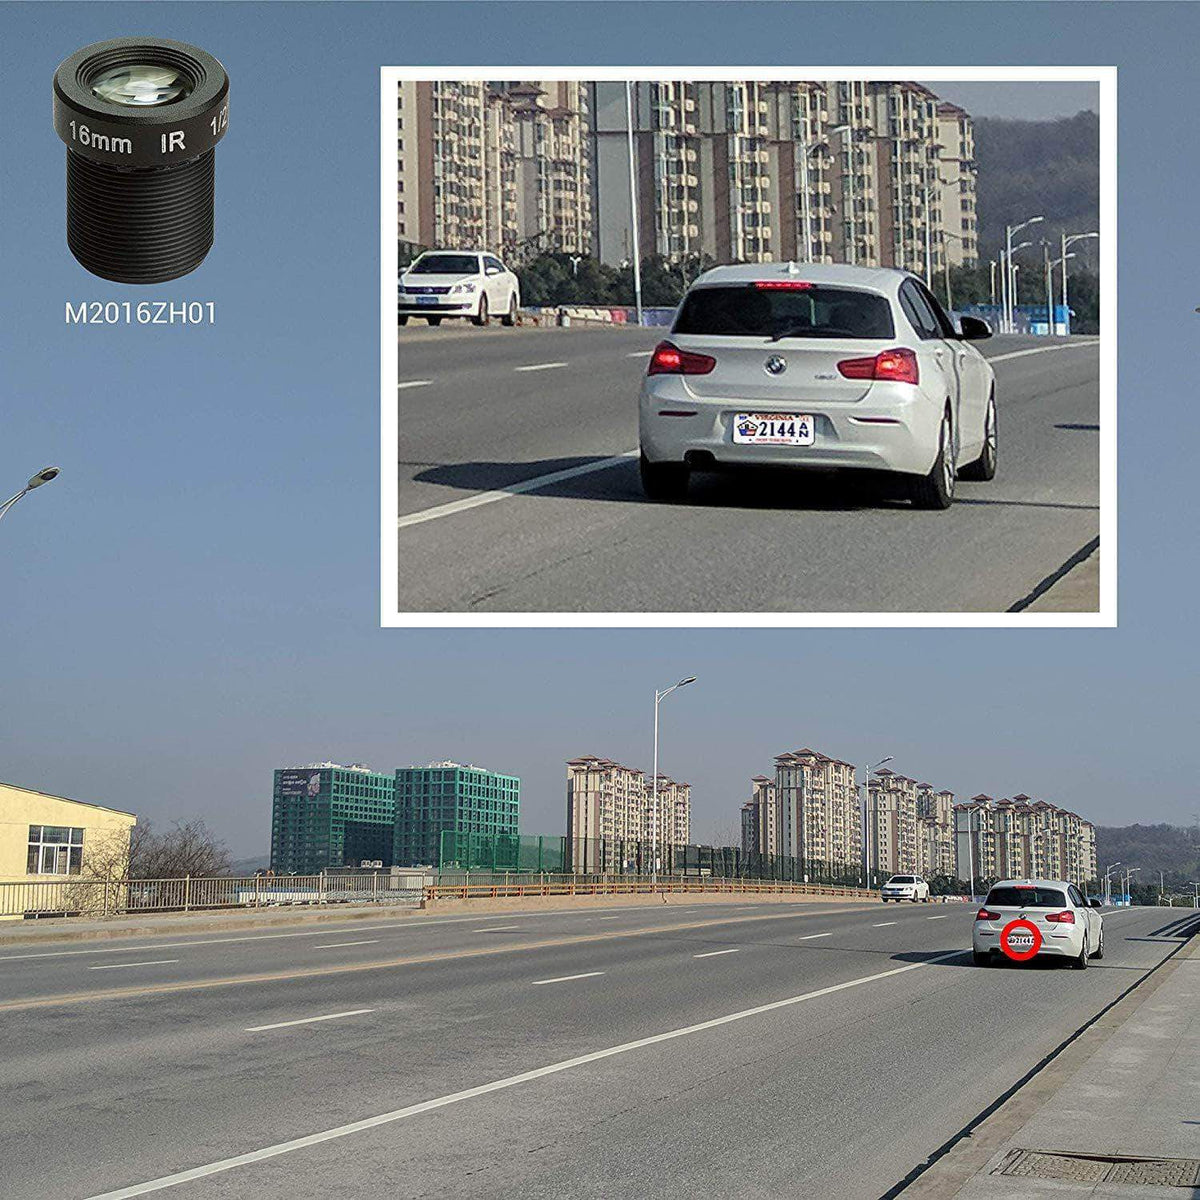
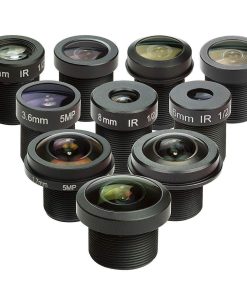
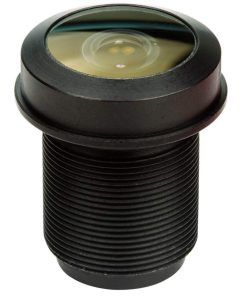
In order to meet the increasing market demands for more lens options to address different use cases, Arducam selected and tested a wide range of M12 mount optimal lenses from long focus to fisheye for shooting on your Raspberry Pi or Arduino cameras. It’s now much easier for you to get the best lens you’ll need, and we will keep the lens list growing in the near future.
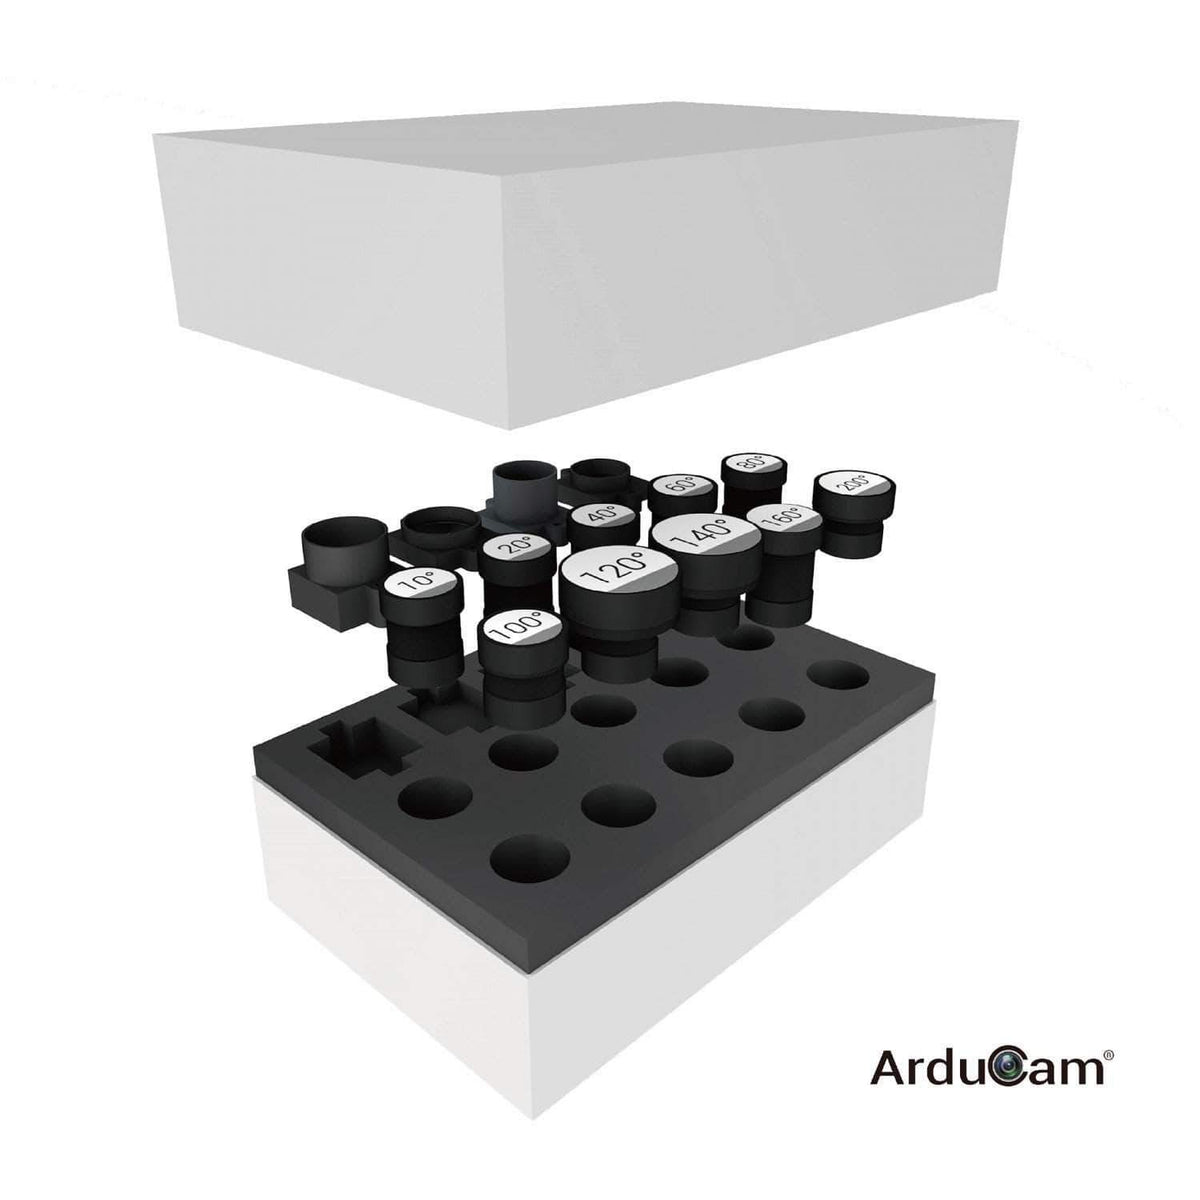
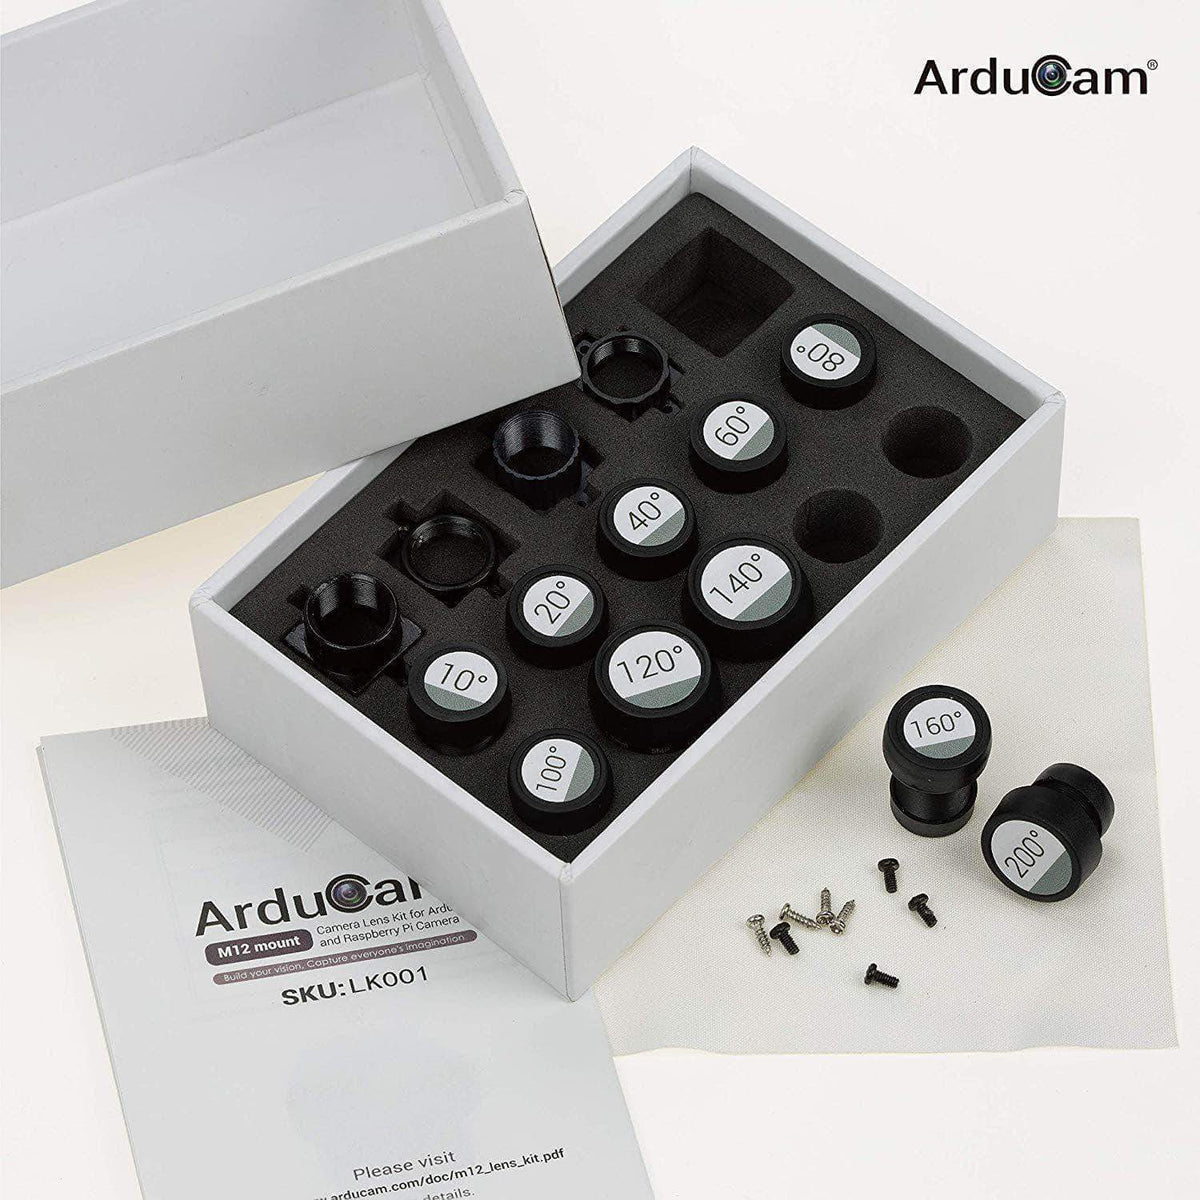
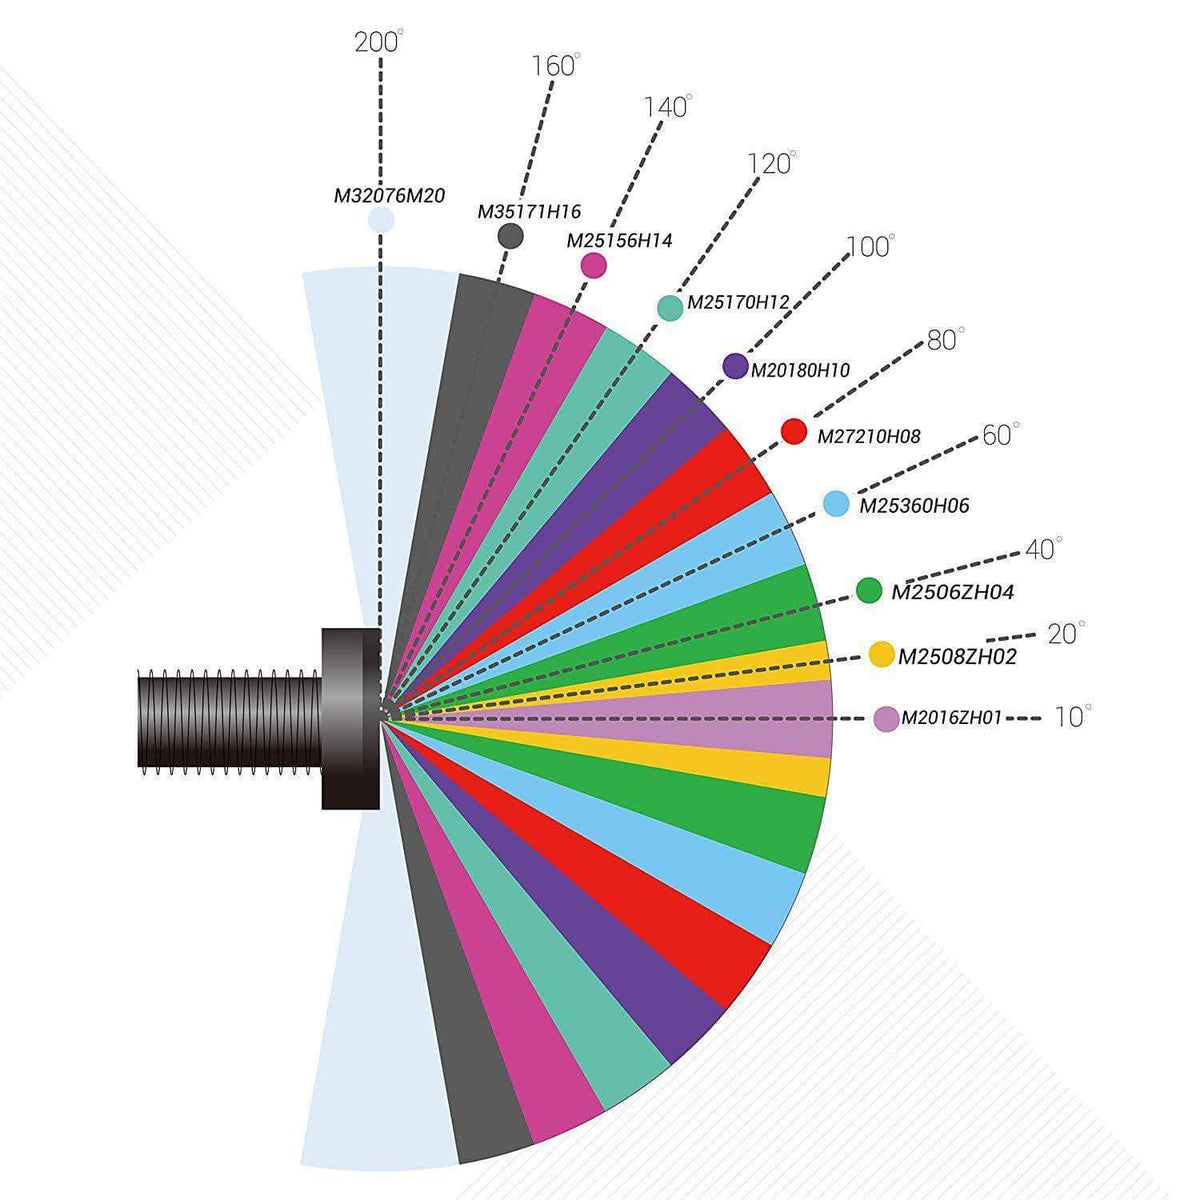
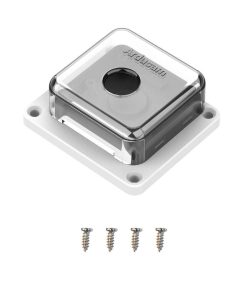
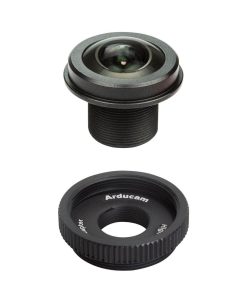
The lens kit has 10 M12 Mount lenses that we have selected from a wide array of lens options, and the Horizontal Field of View (HFOV) of those lenses from 10 to over 200 degrees (on a 1/4-inch RPi cam or Arduino cam). It comes with labeled caps, four lens holders, a lens cleaning cloth and screws, which allows you to select and change for the best lens you need.
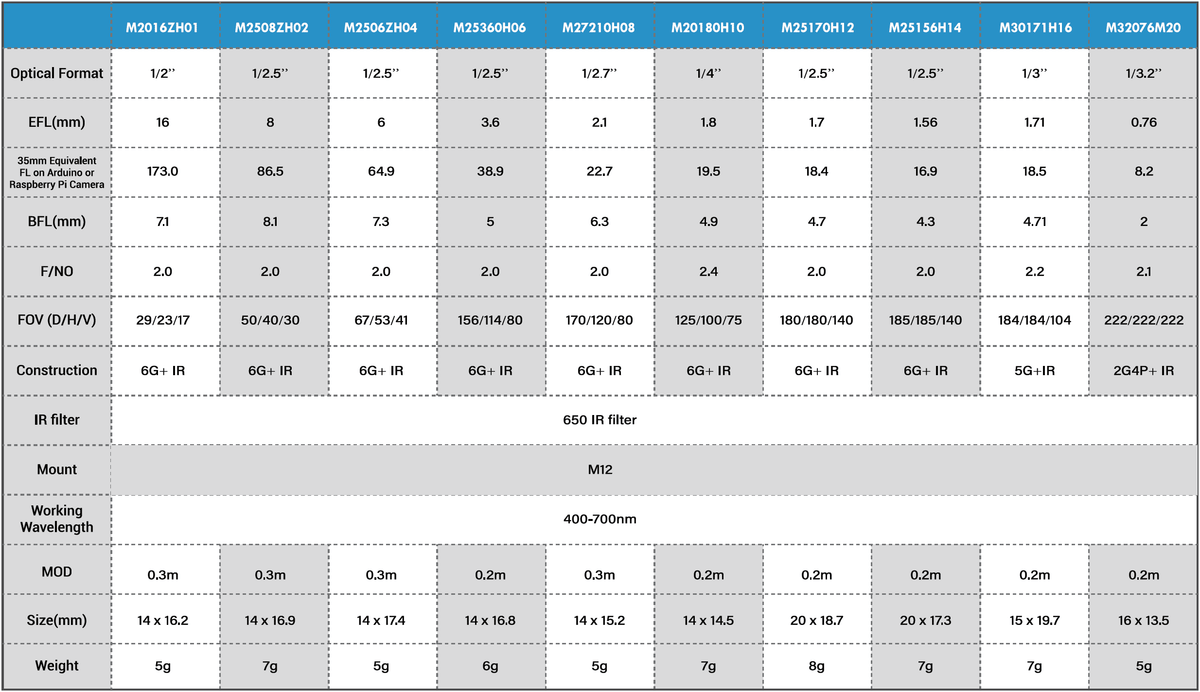
Arducam has made a PDF document that contains the details specifications of each lens, and a video that shows how to replace the lenses on Arducam Cameras.
Features
- 10 M12 Mount lens for your Arduino and Raspberry Pi cameras, HFOV ranging from 10 to 200 degree
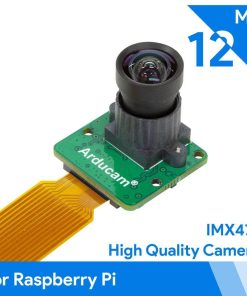
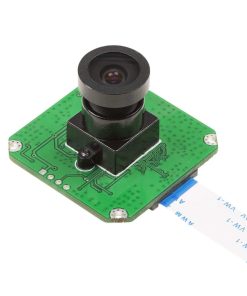
- Compatible with Arducam cameras with M12 Mount, B0067(B012UXNDOY), B0068(B013JUKZ48), B0031 (B013JTY8WY) recommended
- Selected and tested lenses with labeled caps, much easier for you to select the best lens you need
- 4 M12 lens holders with 18mm and 20mm hole spacing, 2 heights in metal and plastic.
- Screws, specifications, and instructions for changing lens provided. Video: youtu.be/23jE0l8PTKA
Note:
1. Choose a suitable lens holder as follows:
a) Determine the lens holder height listed in the lens specifications for your selected lens. If you use a different lens holder height, you might not be able to focus the lens at all.
b) Ensure that the lens holder matches the screw hole pitch of your camera board. Lens holders are available with18mm and 20mm pitches.
2. If required, the thread gap between the lens and lens holder can be filled with damping grease or similar glue in order to fix the lens in position after focusing.
3. Specks of dust or tiny bubblers might be visible on the image while focusing the lens. These will disappear when the lens is in focus, and will not affect image quality.
4. When focusing or replacing a lens, do not screw the lens into the lens holder too deep, otherwise the lens might touch and damage the image sensor. Often, focusing a lens is performed while monitoring the image quality on a video screen. A blurry image will result if the lens is screwed in either too deep or too shallow from where it is in focus.
5. You have to manually remove the IR filter at the bottom of the lenses when using them with a NoIR camera

Fast Shipping and Professional Packing
Through our long-term relationship in a long-standing partnership with UPS, FedEx, DHL and many other top global carriers we can provide a variety of shipping options. Our warehouse employees will pack every item to our exacting specifications. The goods you send us are checked thoroughly and secured properly prior to shipping. Everyday we deliver thousands of packages to customers across many countries. The fact that we're committed to becoming the biggest online retailer in the world is clear. Both Europe as well as the USA have warehouses and distribution centres.
Orders that contain more than one item are assigned processing times in accordance with the item.
We will inspect each and every one of the items ordered before shipping. Today, most orders will be shipped within 48 hours. The delivery time should be between 3-7 days.
Returns
The stock market is always changing. It's not entirely managed by us, since we have multiple organizations, such as the factory and our storage. Stock levels can fluctuate at any given time. Please understand it may happen that your order will be out of stock after the order is placed.
The policy is for 30 days. If you have passed 30 days in the past since you purchased, unfortunately we can't offer you a refund or exchange.
To be eligible for a refund, your item must be in good condition and in the same state that you received it. The item must be in the original packaging.
